If the CMM campaign you are ordering includes an SMS message, e-mail, or PURL (personalized web site), you may be able to customize the media element.
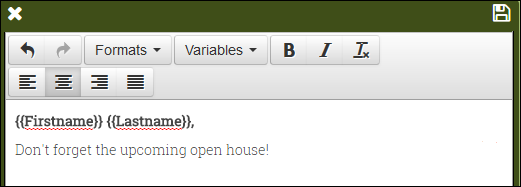
1. Click text in the Personalization pane to see if it can be edited. The text opens in an editing window.
2. Do any of the following (depending on the choices available to you) and then click  .
.
● Change the text itself.
● To change the style of the selected text, click Formats and select the style you want to use. The available choices depend on the campaign media element you are customizing.
● Apply bold or italics to the selected text. (To remove bold or italics, select the text and click ![]() .)
.)
● Use the alignment buttons to change the alignment or justification of text.
● To personalize the text by including data from the contact list, position the cursor where you want this data, click Variables, and select a variable such as {{Firstname}} or {{Lastname}}.
Notes:
● You can enter a variable instead of selecting it. The name (without spaces) must correspond to a column name in the filter set you are using (as shown in the My Contacts window) and the variable name must be enclosed in double curly brackets {{ }}.
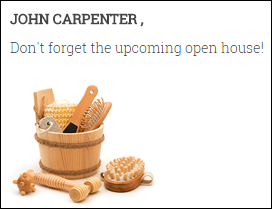
● When text includes variables, the sample data that is displayed in the Personalization pane comes from your user profile.
3. Click an image to see if it can be replaced. Then click Upload Image or Google Drive to upload the image you want to use and click .
4. If the media element includes a link, click it to review the PURL - the personalized site for the contact. (To make changes to the PURL – if you are allowed to make them – return to the main Customize page and click Customize or Edit next to the PURL media element.)
Note: Any sample data that is displayed in the PURL comes from your user profile. To review data from your contact list, click Preview.
5. If Add Image or Add Text buttons are available, click them to add your own images or text.
6. Click Preview to review your customization. In the Preview pane you can review the records for any contacts in the filter set you selected for the campaign in the My Contacts window. You can also click links (if available) to review the PURL for a specific contact.
7. Click Done to save your changes and return to the Customize page. The campaign media element you customized is now identified as Complete. (If you need to make additional changes, click Edit.)