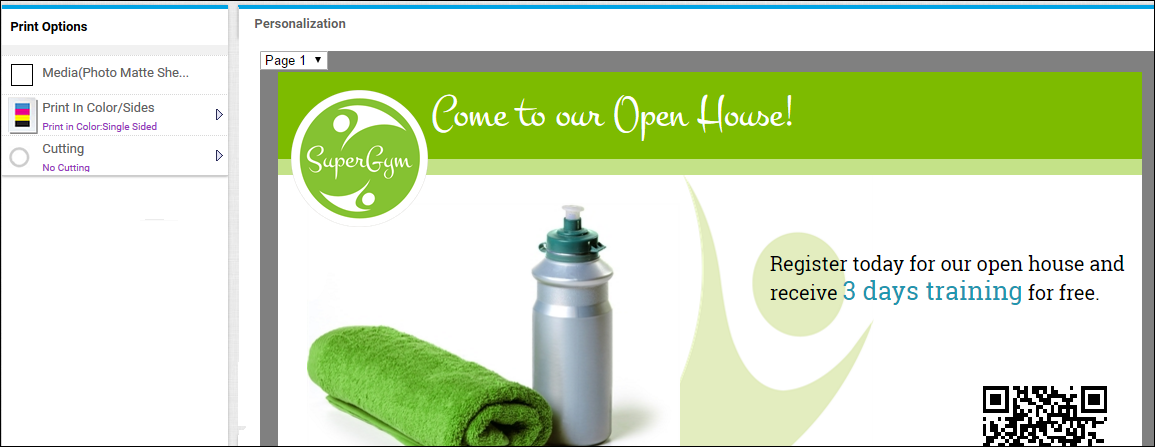
When you customize printed materials that are part of a CMM campaign, you may have a choice of print options, as well as the ability to add or edit text and images. What you can change depends on the product you are ordering. Printed materials may have more than one page (for example, front and back) so be sure to review and customize both pages.
Note: If you customize the printed material and then change your mind, click Reset Document (at the bottom of the Personalization pane) to restore the document to what it was originally.
Note: The options that are available to you depend on the CMM campaign you selected.
● In the left-hand pane, click an option, for example, Media and make further selections as necessary.
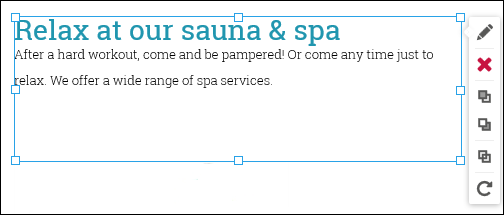
1. Click text in the Personalization pane to see if it can be edited.
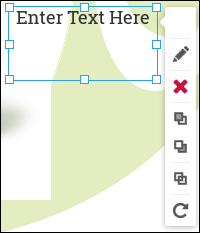
A box surrounds the text when it can be edited and buttons for working with the text are displayed to the right of the text box. Buttons may be available for editing the text, deleting the text, bringing the text to the foreground or background, duplicating the text, or rotating the text. What you can do depends on the campaign you are customizing.
In addition, some text boxes can be moved and re-sized.
2. To edit the text, click ![]() or double-click the text box and change the text as necessary. Then save your changes by clicking
or double-click the text box and change the text as necessary. Then save your changes by clicking  or by clicking outside the text box.
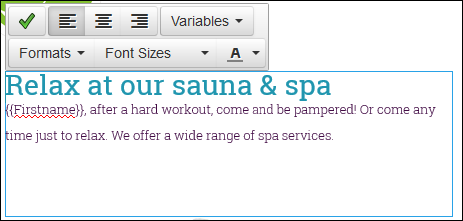
You may also be able to format the text and/or insert variables. (Variables are placeholders for real data from your contact list, for example, first name or last name.) Again, what you can change depends on the campaign you are customizing.
Do any of the following (depending on the choices available to you) and then save your changes by clicking or by clicking outside the text box after you finish editing:
● To change the alignment of the text (left, centered, or right), click one of the alignment buttons.
● To change the font of the selected text, click Formats and/or to change its size, click Font Sizes.
● To change the color of the selected text, click  .
.
● To personalize the text by including data from the contact list, position the cursor where you want this data, click Variables, and select a variable such as {{Firstname}} or {{Lastname}}.
Notes:
● You can enter a variable instead of selecting it. The name (without spaces) must correspond to a column name in the filter set you are using (as shown in the My Contacts window) and the variable name must be enclosed in double curly brackets {{ }}.
● When text includes variables, the sample data that is displayed in the Personalization pane comes from your user profile. To review data from your contact list, click Preview.
3. To remove the entire text box, click ![]() .
.
4. To move the text box to the foreground, click ![]() or to move it to the background, click
or to move it to the background, click ![]() . (This can be useful when superimposing text and images.)
. (This can be useful when superimposing text and images.)
5. To copy the text box, click ![]() , drag the copy where you want it, edit the text as necessary, and click .
, drag the copy where you want it, edit the text as necessary, and click .
6. To rotate the text box, drag ![]() left or right.
left or right.
7. If the text box has handles  , use them to re-size the text box if necessary.
8. To move the text box, click inside it and then drag the text box where you want it.
1. If an Add Text button is available at the bottom of the Personalization pane, click the button to add your own text. (You may need to scroll down to see the Add Text button.)
A text box with Enter Text Here opens.
2. Drag the text box where you want it on the page.
3. Click ![]() or double-click the text box.
or double-click the text box.
4. Replace Enter Text Here with your own text and format the text as you want it to look. Also add variables as necessary.
1. Click an image in the Personalization pane to see if it can be edited.
A box surrounds the image when it can be edited and buttons for working with the image are displayed to the right of the image box. Buttons may be available for changing the image, deleting the image, bringing the image to the foreground or background, duplicating the image, or rotating the image. What you can do depends on the campaign you are customizing.
In addition, some image boxes can be moved and re-sized.

2. To zoom in or out, drag the ![]() buttons to the left or right.
buttons to the left or right.
3. To position the image differently within the image box or to crop the image (by hiding a part of it), drag the red center of the concentric circles.
4. Do any of the following (depending on the choices available to you):
● To replace the image, click ![]() , click Upload Image or Google Drive, and select the image you want to use.
, click Upload Image or Google Drive, and select the image you want to use.
● To remove the entire image, click ![]() .
.
● To move the image to the foreground, click ![]() or to move it to the background, click
or to move it to the background, click ![]() . (This can be useful when superimposing text and images.)
. (This can be useful when superimposing text and images.)
● To copy the image, click ![]() , drag the copy where you want it, and make changes as necessary.
, drag the copy where you want it, and make changes as necessary.
● To rotate the image box, drag ![]() left or right.
left or right.
5. If the image box has handles , use them to re-size the image box if necessary. To move the image box, click inside the box and then drag it where you want it.
1. If an Add Image button is available at the bottom of the Personalization pane, click the button to add your own image. (You may need to scroll down to see the Add Image button.)
2. A placeholder image is added. Click ![]() , click Upload Image or Google Drive, and select the image you want to use.
, click Upload Image or Google Drive, and select the image you want to use.
3. Edit the image as described in steps 2 to 5 above.
Printed material may have more than one page (for example, a card may be printed on both the front and back).
1. Check the top left corner of the Personalization pane for additional pages.

2. Select the page you want to customize and customize it as described above.
1. Click Preview to review your customization. In the Preview pane you can see the print options you selected and review records for any contacts in the contact list you selected for the campaign.
2. To see what the printed version will look like, click PDF Proof.
3. To make further changes, click Personalization and make the changes.
4. Click Done to return to the Customize page. The printed material you customized is now identified as Complete. (If you need to make additional changes, click Edit.)